
Matched-View Camera Tests for Product Renders
A matched-view camera test compares two product renders from the same represented viewing direction, framing, and presentation conditions. It helps isolate visible changes in silhouette, massing, proportion, edge breaks, transitions, and scale cues.
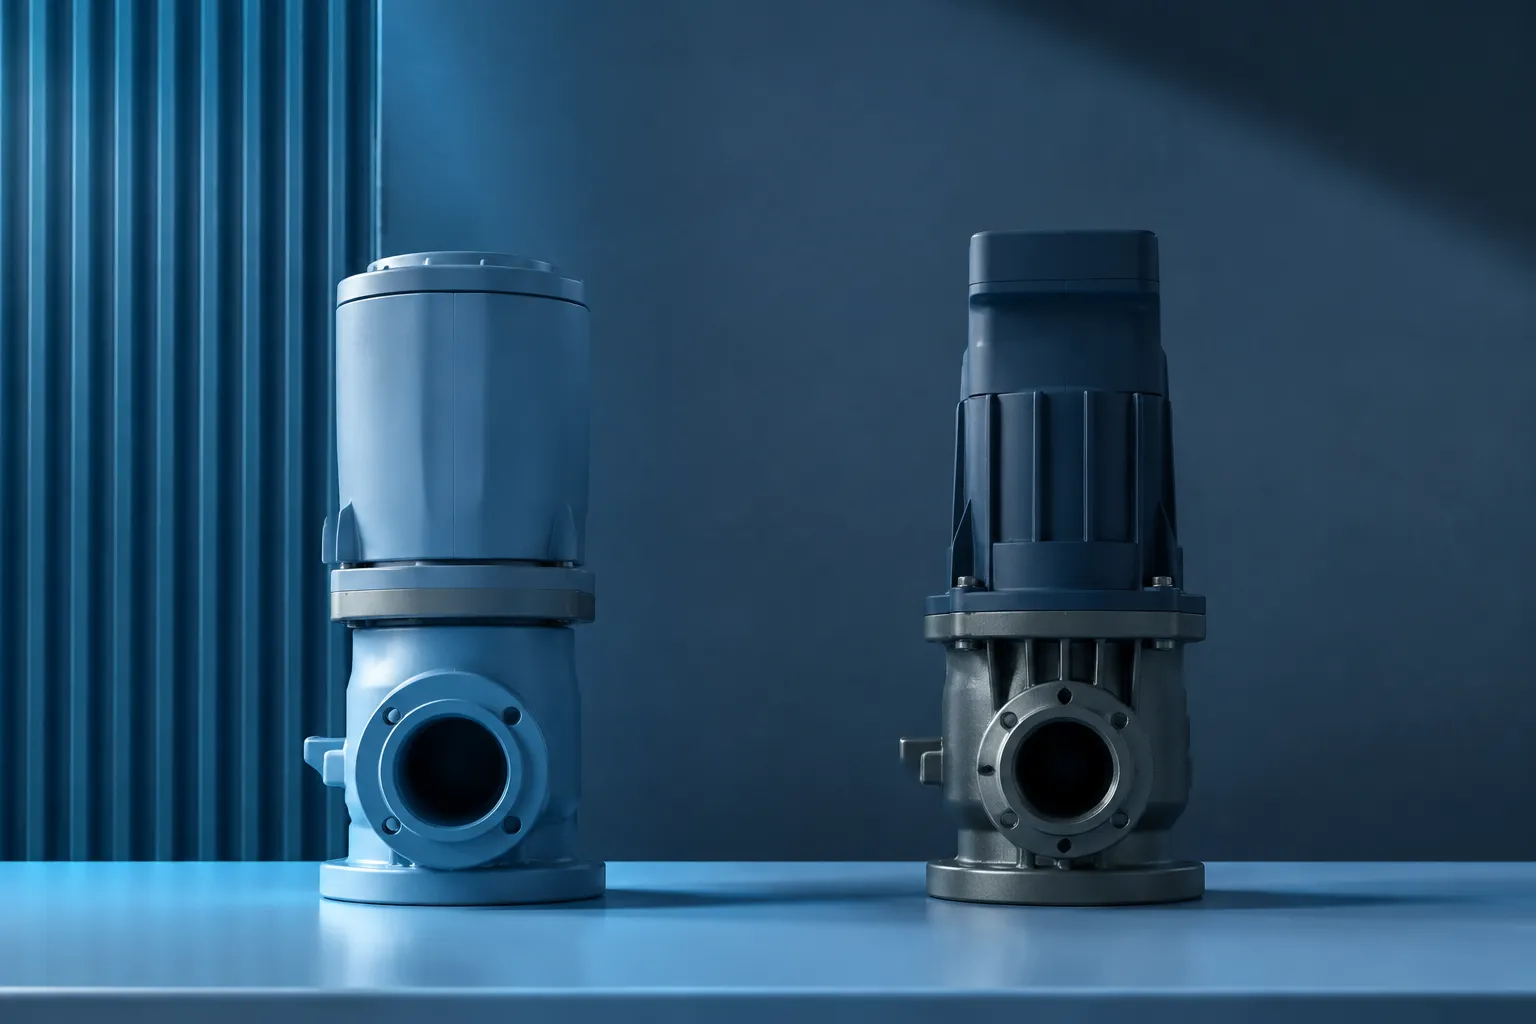
The rule is practical: hold the view constant before interpreting the product change. A different viewing angle can make a small form adjustment look substantial, or conceal a change that deserves review. Research on picture matching supports same-view comparison when viewers need to distinguish shape changes from viewpoint changes.
This is a visual review method, not product validation. A matched render does not establish dimensions, mechanisms, ergonomics, material performance, manufacturing feasibility, safety, compliance, market acceptance, or permission to reuse source imagery.
What a Matched-View Comparison Shows
The first render commits to visible relationships: a tall or low silhouette, a broad base, a narrow neck, a dominant control area, or a particular transition between surfaces. The second render introduces another interpretation of those relationships.
When the views are aligned, separate three questions:
- What changed in the visible product?
- What changed in the way the product is presented?
- What remains unresolved outside the image?
For example, a revised enclosure may appear wider because its side walls moved outward. It may also appear wider because the framing, viewing direction, or surrounding scale cue changed. The comparison makes the visible difference easier to record, but it does not identify every cause.
How to Run a Product Render Perspective Comparison
The following is an illustrative visual-review procedure. It is not a camera calibration standard or a software-specific workflow.
1. Freeze the Reference View
Choose one render as the reference. Preserve its crop, object placement, visible faces, background relationship, and apparent viewing direction as closely as the available files allow.
Record what cannot be confirmed. The files may not document the projection model, lens behavior, sensor format, or camera calibration. Do not replace those missing details with assumed technical values.
Check the visible alignment:
- Does the main vertical axis occupy the same position?
- Are the top, front, and side faces similarly visible?
- Does the base meet the ground in the same region?
- Are crop and object scale comparable?
- Do background and shadow provide a similar amount of context?
If these conditions do not hold, label the result as a presentation comparison rather than a controlled shape comparison.
2. Overlay the Broad Silhouette
Begin with the outer contour. Ignore finish and small details until the overall massing has been checked.
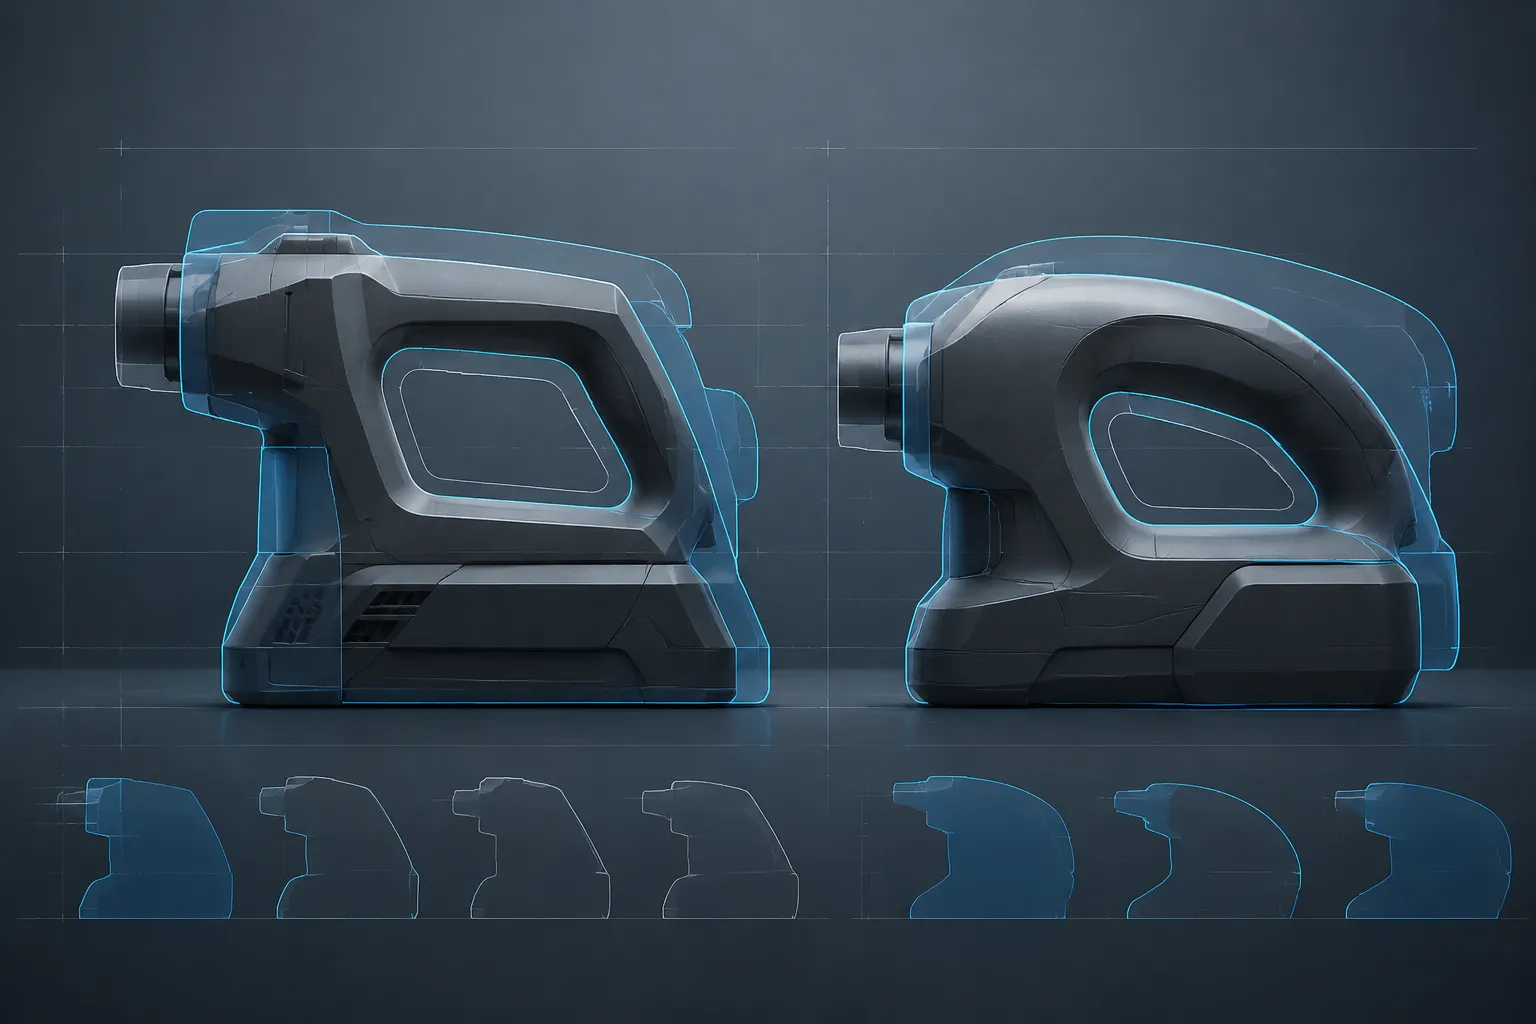
Inspect the height-to-width relationship, base footprint, shoulder position, top profile, front-to-back impression, openings, and areas where one direction projects beyond the other.
A contour change can indicate that the product direction changed. It remains evidence of the shown visual representation, not proof of the object's actual dimensions.
3. Compare Massing Before Detail
Massing describes how the main volumes read together. Look for an upper housing that appears more dominant, a base that reads as broader, or a control area that carries more visual weight.
Use neutral descriptions:
- The upper volume appears larger relative to the base.
- The lower body occupies more of the visible frame.
- The transition between the primary masses reads sharper.
- The side volume is more exposed in one direction.
- The central feature carries more visual weight.
These statements describe the render. They do not establish that the underlying product became heavier, larger, stronger, or more stable.
4. Inspect Proportion Changes
After massing, compare relationships between visible features. A control may sit closer to the top edge. A handle, opening, bezel, or seam may occupy a different share of the front face.
Record the relationship rather than relying on a general impression:
- The control-to-body ratio appears increased.
- The gap below the upper feature appears reduced.
- The side wall reads thinner relative to the front panel.
- The base-to-body relationship appears more compact.
- The visible transition begins earlier along the body.
“The product feels smaller” is difficult to act on. “The top feature occupies more of the front silhouette” gives the review team a specific question.
What to Inspect in Matched-View Product Renders
Silhouette
Check the outer contour at the top, shoulders, sides, base, and openings. A small contour change can alter whether a form reads as upright, soft, technical, compact, or unstable.
Record that interpretation as a visual reading. Do not turn it into a confirmed use or performance result.
Massing
Compare the dominant volumes before evaluating detail. A broad lower mass may make a concept read more planted, while a larger upper housing may make it read top-heavy.
If the massing appears different only because more of one side is visible, return to the view condition before judging the product direction.
Proportion
Use consistent landmarks across both images, such as the top edge, base line, control center, opening, or major seam.
Direction B keeps the outer height similar, but the upper housing occupies more of the visible width. Review whether this is a shape change or a view-exposure change.
This wording keeps the observation separate from the unresolved cause.
Edge Breaks and Transitions
An edge break, radius, chamfer, crease, or seam may disappear or become prominent when the represented view changes. Inspect whether the surrounding contour, highlight, and adjacent surface transition also change before concluding that the geometry changed.
Transitions deserve the same treatment. Note where a surface begins changing direction, how quickly it changes, whether the connection remains continuous, and whether it affects the outer silhouette.
A smoother transition in one render may reflect geometry, lighting, finish, or viewing conditions. Record the visible effect first, then route the cause to model review or technical review.
Scale Cues
A hand, table, cable, opening, fastener, or familiar surrounding item can affect how viewers read apparent size. Its absence also matters. A clean render may leave size and distance open to interpretation.
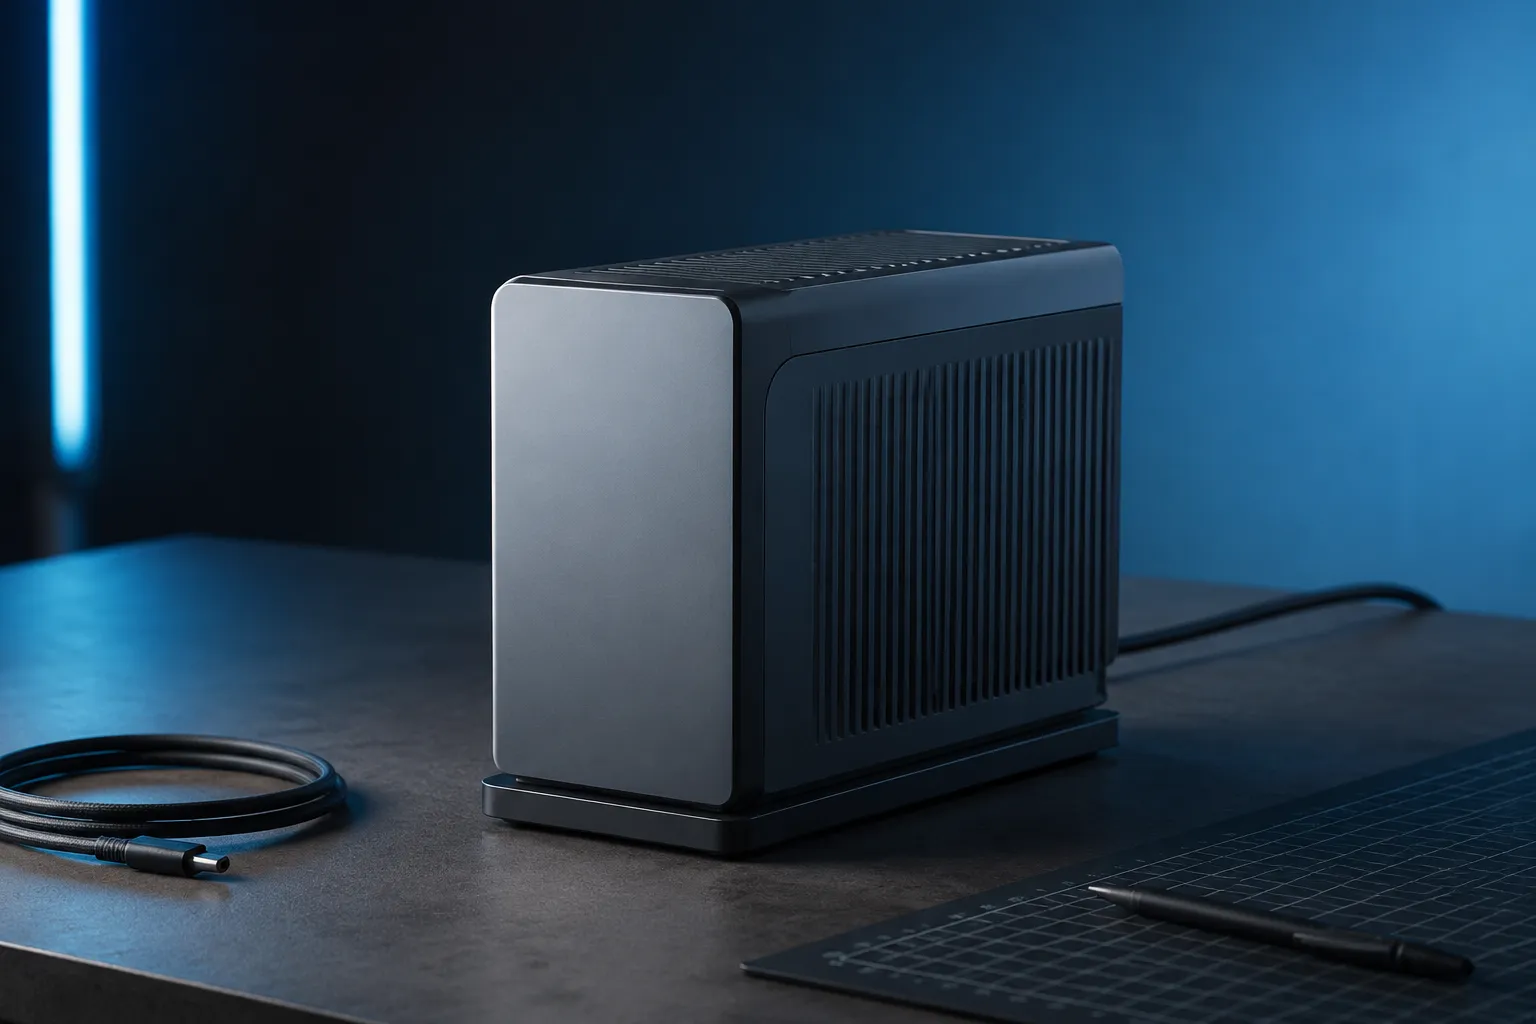
Scale impressions are provisional. A matched view preserves a visual comparison, but it cannot replace documented dimensions or an ergonomic check.
When the Comparison Becomes Misleading
A matched view reduces one source of ambiguity: the viewing position represented by the image. It does not control every condition that affects interpretation.
The comparison becomes weaker when:
- The crop changes substantially.
- The object moves relative to the frame.
- One render reveals more of the side or top surface.
- Lighting makes one edge break more prominent.
- Materials create different contrast or reflection patterns.
- A scale reference appears in only one image.
- One direction includes details the other omits.
- The images represent different display contexts or sizes.
- The source files do not document how the views were produced.
These conditions do not make the renders unusable. They change the question the comparison can answer. Two images may support an aesthetic direction review even when they cannot support a precise shape comparison.
A Compact Review Record
| Review item | What to record |
|---|---|
| View condition | What appears constant and what cannot be confirmed |
| Silhouette | Where the outer contour differs |
| Massing | Which major volume carries more visual weight |
| Proportion | Which feature-to-feature relationship changed |
| Edge breaks | Which edges appear, disappear, or change emphasis |
| Transitions | Where surface direction or volume connection differs |
| Scale cues | Which surrounding references support or distort size reading |
| Interpretation | What a viewer may infer from the visible change |
| Unresolved question | What requires model, engineering, ergonomic, source, or physical review |
| Next action | The specific comparison, revision, or handoff to make |
The final two rows prevent a strong visual reaction from becoming a weak design record.
Common Misunderstanding
A realistic appearance can make unresolved assumptions feel settled. Matched views improve comparison of presentation, but they do not convert a concept render into a verified product record.
Use the render to identify which visible direction deserves further investigation. Route dimensions to CAD, mechanism and feasibility questions to engineering review, reach and clearance questions to ergonomic review, source-use questions to rights confirmation, and behavior-in-use questions to physical testing.
FAQ
Does a matched-view render prove that the product proportions are correct?
No. It makes proportion differences easier to compare because the presentation view is held as constant as possible. Correct proportions still require documented dimensions and the appropriate design or engineering review.
Should every product render use the same camera?
For a direct visual comparison, a consistent represented view is useful. The available evidence does not support prescribing one focal length, sensor format, projection model, or software setup for every product. Treat the camera condition as a recorded comparison assumption.
What should I compare first: materials or shape?
Compare silhouette and massing first. Finish, reflections, and shading can change how edges and transitions are perceived, so surface appearance should not obscure the broad form comparison.
Why does one render make the product look larger?
Possible contributors include framing, visible surfaces, surrounding references, display context, brightness, saturation, or changes in the represented view. The render alone cannot identify the cause. Record the apparent size change and check it against documented dimensions or a suitable scale reference.
Can matched-view renders replace CAD review?
No. They can identify which visible direction deserves further investigation. They do not replace dimensional, mechanical, ergonomic, manufacturing, safety, compliance, performance, or physical review.
The Next Review Action
Place the two renders side by side, align the main product landmarks, and inspect the silhouette before discussing finish or realism. Record each visible change under silhouette, massing, proportion, edge break, transition, or scale cue.
Then mark every conclusion that depends on information outside the image. The useful result is not the render that looks more convincing. It is the comparison that makes the next product question more specific.
Sources
- Interactions between View Changes and Shape Changes in Picture–Picture Matching
- Choosing Rendering Parameters for Effective Communication of 3D Shape | IEEE Computer Graphics and Applications
- Perceiving Design Features in New Interaction Environments: Comparing Rendered Images, 360° Rotation, AR, Immersive and Non-Immersive VR, and Real Product Interaction
- An Examination of the Relationship Between Visualization Media and Consumer Product Evaluation
- VISUAL BEHAVIOUR IN THE EVALUATION OF PHYSICAL AND VIRTUAL PROTOTYPES